How to Cook Perfect Rice on an Induction Cooktop
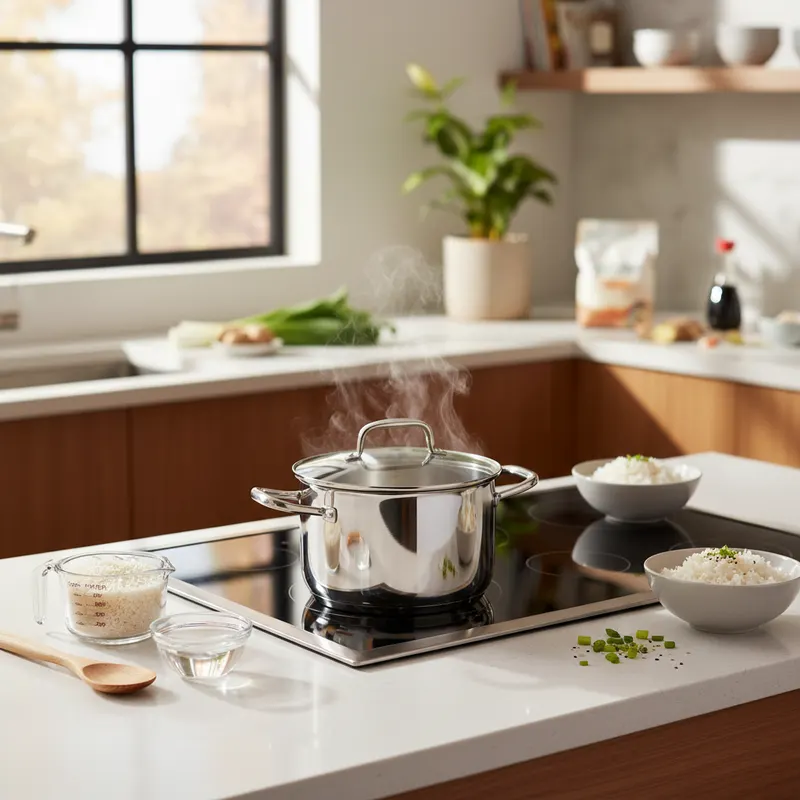
To cook rice on an induction cooktop, rinse the grains, use a 1:1.5 rice-to-water ratio for long-grain white rice, bring it to a boil on high power, then drop to low (around 300-400 watts) and simmer covered for 12-15 minutes before resting. That single answer covers the essentials, but the precision an induction cooktop offers is exactly why it produces better rice than gas or electric coil ranges. The instant power response and tight temperature control eliminate the guesswork that leads to scorched bottoms and gummy grains.
Induction works by generating heat directly in the pan through electromagnetic induction, which means when you lower the power, the heat drops immediately. There is no glowing element radiating residual heat into your pot. This article walks through ratios, power levels, timing, and the science that makes induction the best way to cook rice at home.
Why Induction Is Ideal for Cooking Rice
Rice is unforgiving. According to research compiled by the USA Rice Federation, properly cooked white rice absorbs water until the starch granules gelatinize at roughly 158-167°F (70-75°C), then continues to soften as it holds at a simmer near 212°F (100°C). If the heat is uneven or too aggressive, the bottom layer scorches before the top grains finish. Induction solves this with even, edge-to-edge heat distribution and the ability to hold a steady low simmer.
The food scientist Harold McGee, in On Food and Cooking, notes that rice cooking is fundamentally about controlled water absorption and steam — the grains should never boil violently once the liquid level drops below the rice. Induction’s instant power modulation lets you transition from a rolling boil to a bare simmer in seconds, which is precisely the transition rice needs.
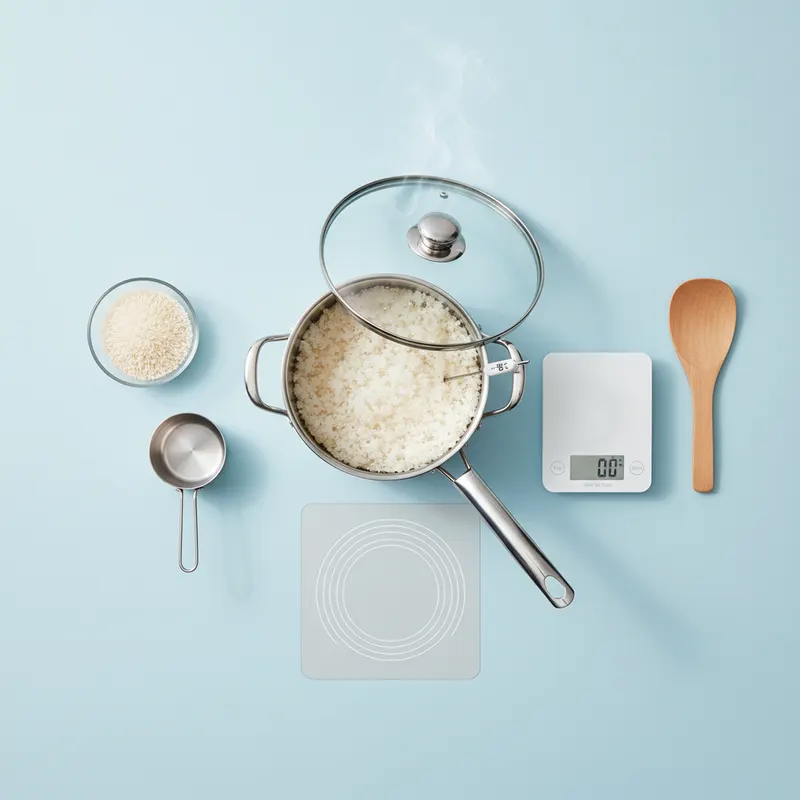
To get this control, you need cookware that pairs well with the technology. A flat, magnetic-bottomed pot is non-negotiable. Our induction cookware guide explains which materials work, but for rice specifically, a heavy-bottomed stainless or clad pot with a tight lid distributes heat evenly and traps steam.
The Right Water Ratios and Power Levels
The water-to-rice ratio is the single most important variable, and it changes by rice type. The numbers below are calibrated for stovetop induction cooking in a covered pot, drawn from USA Rice Federation guidance and standard culinary-school ratios taught at institutions like the Culinary Institute of America.
| Rice Type | Rice : Water | Power (Simmer) | Simmer Time | Rest Time |
|---|---|---|---|---|
| Long-grain white | 1 : 1.5 | Low / ~300-400W | 12-15 min | 10 min |
| Medium-grain white | 1 : 1.5 | Low / ~300-400W | 15 min | 10 min |
| Short-grain (sushi) | 1 : 1.25 | Low / ~300W | 13 min | 10 min |
| Basmati | 1 : 1.5 | Low / ~350W | 12 min | 10 min |
| Jasmine | 1 : 1.25 | Low / ~300W | 12 min | 10 min |
| Brown rice | 1 : 2.25 | Low / ~400W | 40-45 min | 10 min |
| Wild rice | 1 : 3 | Low / ~400W | 45-50 min | 5 min |
Power numbers are approximate because manufacturers label settings differently. Many induction cooktops use a 1-9 or 1-10 scale rather than wattage. As a rule of thumb, bring rice to a boil on level 8-9 (or “boost”), then drop to level 2-3 for the simmer phase. If your cooktop displays watts, the 300-400W band reliably holds a gentle simmer for a covered 2-3 quart pot.
Step-by-Step: Cooking White Rice on Induction
Follow this sequence for foolproof long-grain white rice. The same method scales to other varieties using the ratios above.
Step 1 — Rinse the Rice
Place the rice in a fine-mesh strainer and rinse under cold water until the water runs clear, about 30-60 seconds. This removes surface starch that causes clumping. Skip this step only for risotto or paella, where surface starch creates the desired creaminess.
Step 2 — Combine and Boil
Add rinsed rice, water, and a pinch of salt to your pot. Cover with a tight lid and set your induction cooktop to high (level 8-9 or boost). On a strong induction zone, 1.5 cups of water will reach a rolling boil in roughly 3-4 minutes — far faster than gas.
Step 3 — Drop to a Simmer Immediately
The instant the pot boils, reduce power to low (level 2-3, ~300-400W). Do not lift the lid. This is where induction shines: the heat drops the moment you turn the dial, so you avoid the boil-over that plagues lagging electric coils.
Step 4 — Rest Off the Heat
When the timer ends, turn off the cooktop and let the pot rest, still covered, for 10 minutes. Resting allows residual steam to redistribute moisture evenly, firming the grains and finishing the gelatinization. Skipping this step is the most common reason home rice turns out mushy on the bottom and dry on top.
Step 5 — Fluff and Serve
Remove the lid and fluff gently with a fork or rice paddle, lifting from the bottom. The grains should be separate, tender, and glossy.
Troubleshooting Common Rice Problems on Induction
Rice is mushy: You used too much water or simmered too long. Reduce water by 2-3 tablespoons next time and check that your “low” setting is genuinely a gentle simmer, not a boil.
Rice is crunchy or undercooked: Too little water or the simmer was too weak. Add 2-3 tablespoons of hot water, re-cover, and simmer another 3-5 minutes.
Scorched bottom: Your simmer power was too high, or the pot is too thin. Use a heavier clad pot. Quality cookware makes a measurable difference here — see our roundup of the best stainless steel pans for induction for pots with the thick bases that prevent hot spots.
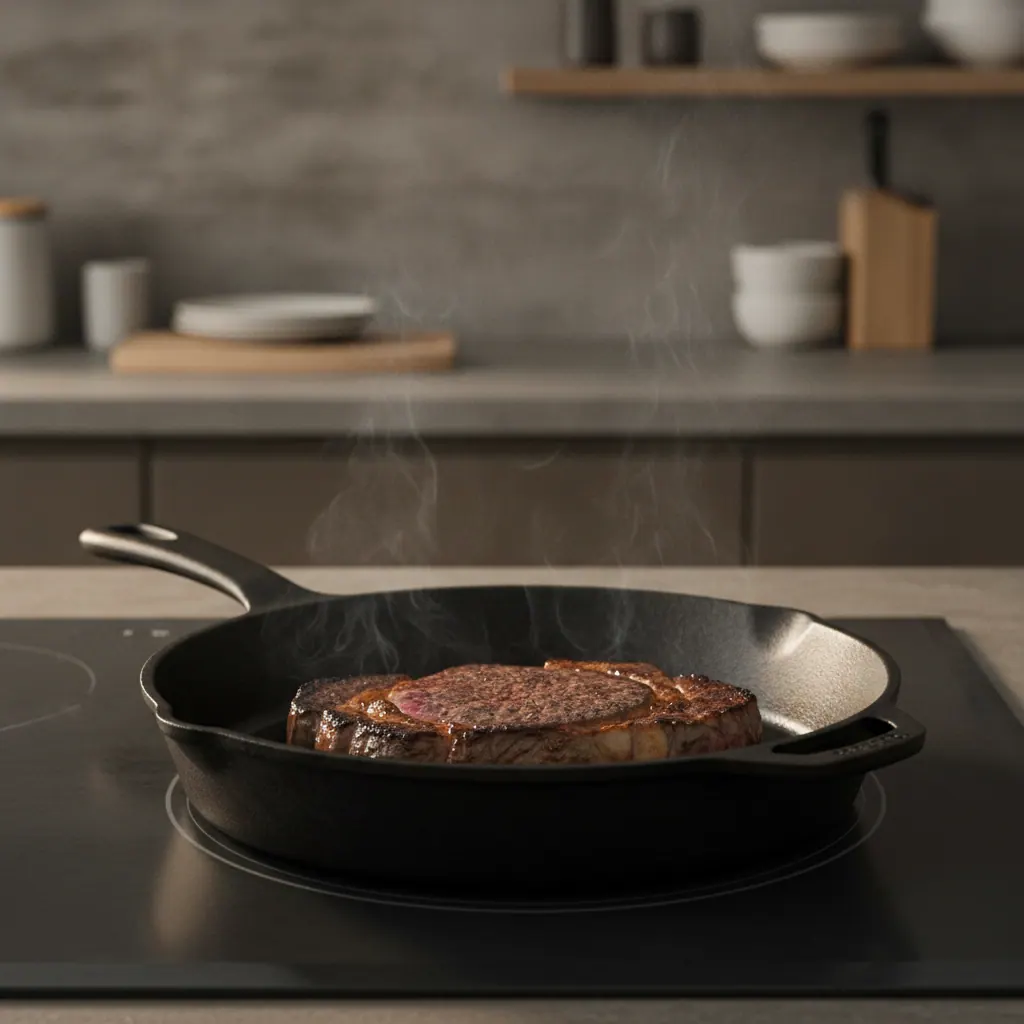
Boil-over: You waited too long to reduce power after the boil. On induction this should never happen if you cut power immediately. The same lightning-fast response that makes induction great for searing — covered in our guide to how to sear steak on an induction cooktop — is what gives you precise control over a delicate simmer.

Adapting the Method for Different Rice Types
Brown rice contains an intact bran layer that resists water absorption, so it needs nearly double the water and roughly three times the cooking time — about 40-45 minutes at a low simmer with a 1:2.25 ratio. Wild rice, which is technically a grass seed rather than true rice, needs even more water and time, splitting open when fully cooked.
Sushi and short-grain rice use slightly less water (1:1.25) because the goal is a stickier, cohesive grain. Basmati and jasmine, prized for their aroma, benefit from a 10-minute soak before cooking to lengthen the grains and shorten cook time. Whatever the variety, the induction advantage holds: a fast, controlled boil followed by an instant, stable simmer.
If you are still choosing a cooktop and want one that excels at both precise simmering and high-heat tasks, our review of the best induction cooktops 2026 compares the models with the most responsive low-power settings — the feature that matters most for rice and other delicate dishes.
Final Thoughts
Cooking rice on an induction cooktop turns a finicky task into a repeatable, near-foolproof routine. The combination of fast boiling, instant power adjustment, and rock-steady low simmers gives you the kind of control that professional kitchens rely on. Master the water ratios, cut the power the moment it boils, never lift the lid, and always rest the rice — and you will get fluffy, separate, perfectly cooked grains every single time.
Ready to upgrade your kitchen? Pair the right pot with the right cooktop, save your favorite simmer setting, and you will never struggle with rice again. Explore our cooking-techniques guides to get the most from your induction setup.