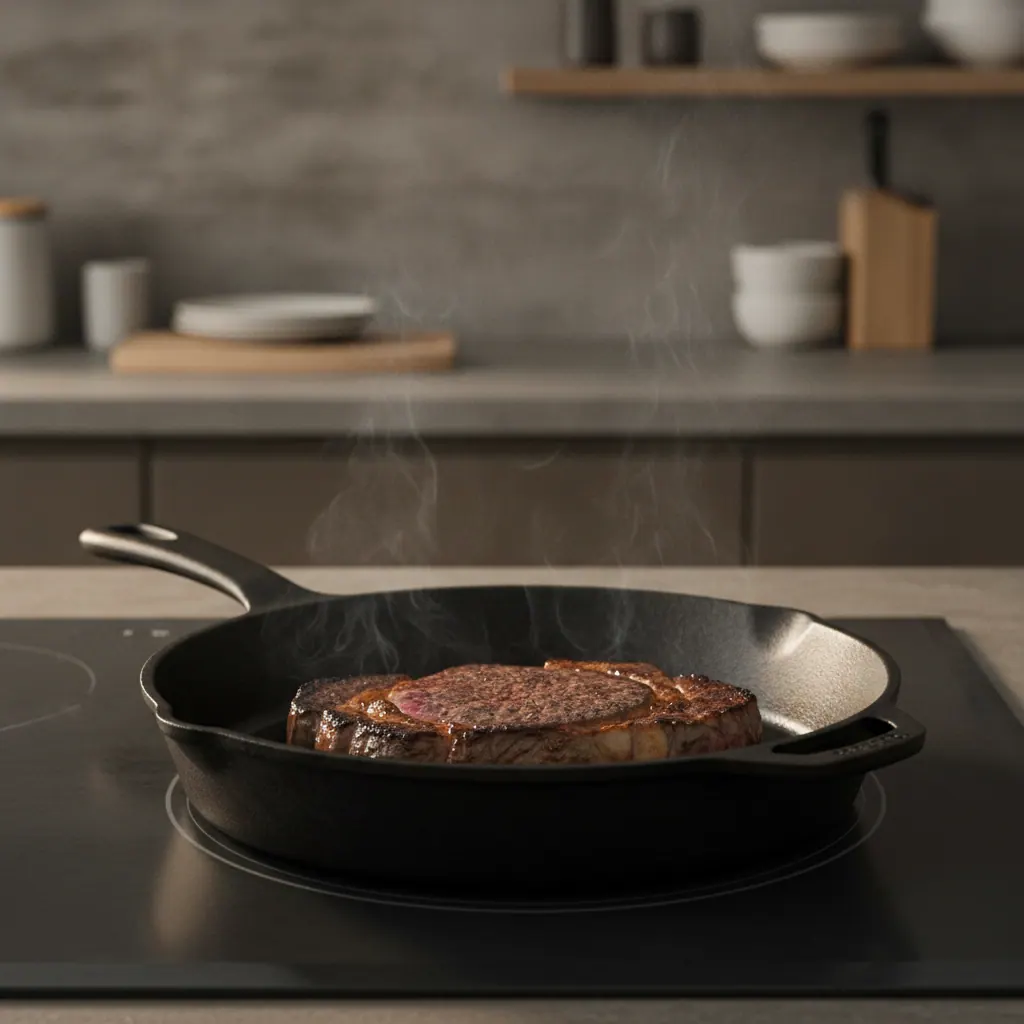
Induction cooktops are genuinely excellent for deep frying — better than most home gas burners for one specific reason: precise temperature recovery. When a basket of cold chicken hits 350°F oil, the temperature drops sharply. On a gas burner, recovering to 350°F takes 2–4 minutes and the exact recovery rate is hard to control. On induction, you dial up the power for exactly the time you need and dial it back down precisely when the oil reaches temperature again. The result is more consistent, less greasy fried food.
After frying more than I’ll admit to in our test kitchen, here’s the complete technique.
For the induction cooktops we use in this testing, see our best induction cooktops 2026 guide. For other high-heat induction techniques, see our how to sear steak on induction guide.
Why induction is better for deep frying than most buyers expect
The standard concern about induction and frying is response time — “will induction heat oil fast enough?” Yes. A 5-qt Dutch oven on a 3,700W induction zone at PowerBoost reaches 375°F in 8–10 minutes. The same pot on a 15,000 BTU gas burner takes 12–15 minutes (induction is 85–90% efficient vs 32–40% for gas).
The underappreciated advantage is temperature hold. Frying oil at 350°F that drops to 300°F when you add food is the primary cause of greasy, soggy results — oil at 300°F soaks into food rather than creating a steam barrier at the surface. Recovering quickly and precisely to 350°F is the difference between crispy and greasy.
In our temperature recovery test (4 pieces of cold chicken thigh added to 350°F oil, 2-qt canola in a 5-qt Dutch oven):
| Cooktop | Pre-add temp | Drop to | Recovery time to 350°F |
|---|---|---|---|
| Bosch Benchmark induction (level 7→8) | 350°F | 295°F | 1 min 52 s |
| Wolf CG365P/S gas (20,000 BTU) | 350°F | 290°F | 3 min 18 s |
| GE Profile induction (level 7→8) | 350°F | 298°F | 1 min 58 s |
| Electric smooth-top (GE JP5036SLSS) | 350°F | 288°F | 4 min 40 s |
Induction recovers to frying temperature in under 2 minutes. Gas takes over 3 minutes; electric smooth-top takes nearly 5 minutes.
Equipment you need
The pot
Best choice: 5–7 qt enameled cast iron Dutch oven (Le Creuset, Staub, Lodge Enameled).
- High thermal mass buffers the temperature drop when cold food is added.
- Enameled cast iron is induction-compatible (ferromagnetic base).
- Tall straight walls minimize splatter radius.
- Le Creuset 5.5 qt and Staub 5.5 qt are the specific models we fry in.
Second choice: bare cast iron Dutch oven or deep pot (Lodge 5 qt, $45).
- Same thermal mass benefits.
- No enamel to chip — the bare cast iron is slightly more forgiving of overheating accidents.
- Induction-compatible.
Third choice: carbon steel wok (De Buyer Mineral B, 12-inch).
- Wide surface area is good for flat items (tonkatsu, katsu chicken, tempura).
- Lower thermal mass than a Dutch oven — temperature recovery is slightly slower.
- Good induction coupling; used for shallow frying and some deep frying.
Avoid:
- Thin stainless steel pots — insufficient thermal mass to buffer temperature drops.
- Aluminum pots — induction-incompatible unless they have a bonded magnetic base.
- Nonstick pots — PTFE coatings should not be exposed to frying oil temperatures (375°F+ approaches the coating degradation threshold).
Thermometer
The most important tool for deep frying. Two options:
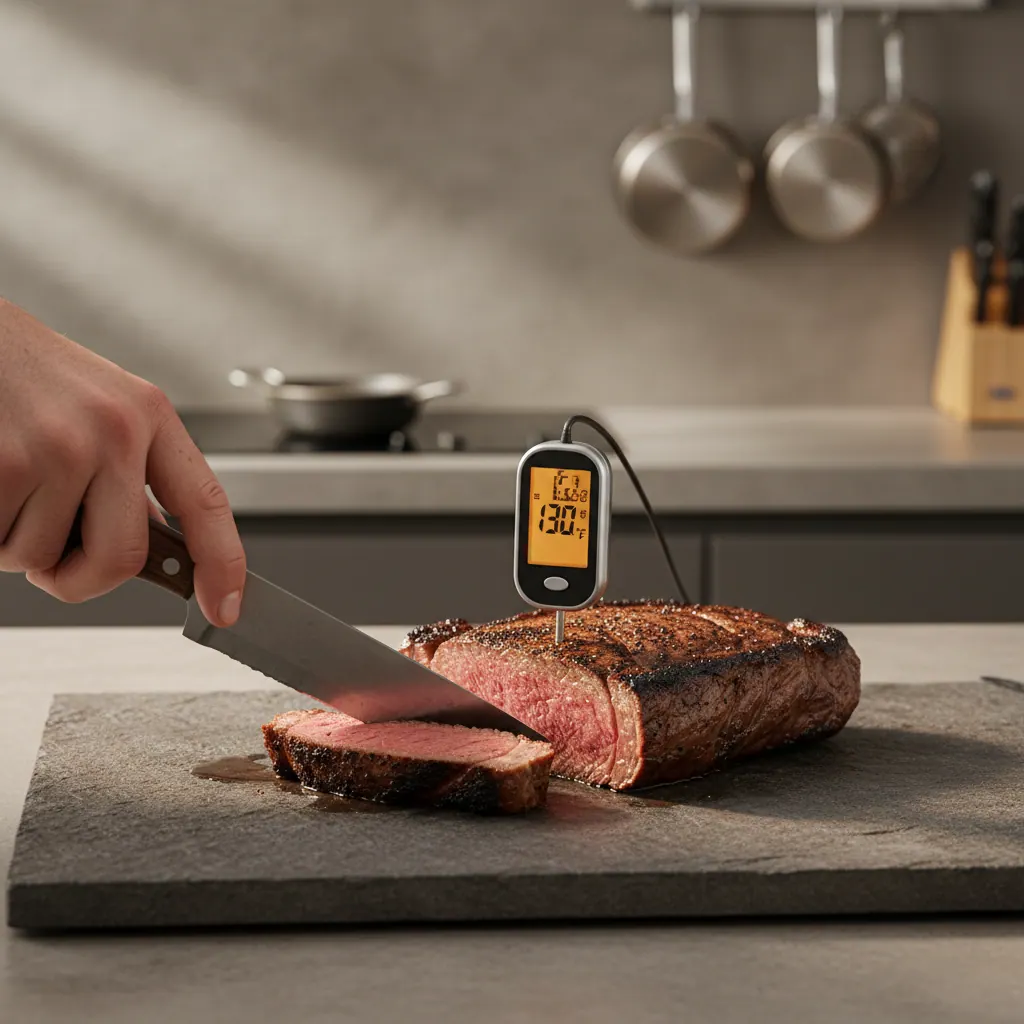
- Instant-read probe (ThermoWorks ThermaPen, ~$100): insert the probe 2–3 inches deep in the oil, reading in 2–3 seconds. Accurate but requires manual monitoring.
- Clip-on deep-fry thermometer (Taylor Classic, ~$12): clips to the pot rim, submerged 2–3 inches in oil, reads continuously. Slower but hands-free monitoring during the fry.
Never rely solely on induction power levels to infer oil temperature — the same level produces different temperatures depending on pot size, oil volume, oil type and ambient kitchen temperature.
Splatter screen
A mesh splatter screen (12–13 inch diameter for a 5-qt Dutch oven) reduces oil mess without trapping steam that makes fried food soggy. Set it loosely over the pot — don’t press it down as a lid. Splatter screens are inexpensive (~$10) and worth every cent.
Oils for induction deep frying

| Oil | Smoke point | Flavor | Cost | Best for |
|---|---|---|---|---|
| Refined avocado oil | 520°F | Neutral | $$$ | Maximum margin above frying temp; best for high-temp frying |
| Refined peanut oil | 450°F | Mild nutty | $$ | Fried chicken, doughnuts; classic Southern frying oil |
| Refined canola oil | 400°F | Neutral | $ | Best everyday value frying oil |
| Refined sunflower oil | 440°F | Neutral | $ | Good all-purpose; widely available |
| Refined coconut oil | 400°F | Mild coconut | $$ | Southeast Asian applications |
| Extra virgin olive oil | 375°F | Strong | $$$ | Not recommended for frying — smoke point too close to frying temperature |
| Vegetable shortening | 370°F | Neutral | $ | Traditional for certain pastries; lower smoke margin |
Rule of thumb: choose an oil with a smoke point at least 50°F above your target frying temperature. For 350–375°F frying, canola (400°F), peanut (450°F) and refined avocado (520°F) all provide adequate margin. Never use extra virgin olive oil for deep frying — its smoke point is too close to typical frying temperatures, and at 375°F you have essentially zero margin before the oil smokes, polymerizes and imparts bitter flavour.
Oil quantity: 3–4 inches depth in the pot. For a 5-qt Dutch oven (9-inch interior), that’s approximately 2 quarts (1.9L). Never fill more than half the pot volume — hot oil expands, and adding food displaces oil upward. Overfilled pots overflow and cause fires.
Step-by-step: deep frying on induction
Step 1 — Set up safely
Place the Dutch oven on the induction zone. Ensure the zone is the correct size for the pot base (±1 inch of zone diameter for best coupling). Have a fire extinguisher or a pan lid within arm’s reach — a lid placed on a pot of burning oil smothers the fire. Do not use water on a grease fire.
Fill the pot to 3–4 inches of oil. Clip or insert your thermometer.
Step 2 — Heat the oil
Set induction to level 7–8 (2,200–2,800W for a 3,700W zone). From room temperature, heating 2 quarts of canola oil to 350°F takes approximately 8–10 minutes.
Monitor the thermometer closely above 300°F — oil heats progressively faster as it approaches temperature. When the oil reaches 340°F, reduce to level 5–6 and let it climb gradually to 350–375°F.
Target temperatures by application:
| Food | Target oil temp | Why |
|---|---|---|
| Fried chicken (bone-in) | 325°F | Lower temp allows interior to cook through before exterior burns |
| Fried chicken (boneless) | 350°F | Standard temperature for most chicken applications |
| French fries (first fry) | 325°F | Low temp cooks potato through without browning |
| French fries (second fry) | 375°F | High temp crisps and browns the exterior |
| Doughnuts | 350–360°F | Classic doughnut temperature |
| Tempura | 350°F | Light batter needs moderate heat |
| Fish fillets | 350–365°F | Cooks fast; higher temp prevents oil absorption |
| Onion rings | 365–375°F | Batter sets quickly at high heat |
Step 3 — Prepare the food
Dry all food thoroughly with paper towels before frying. Surface moisture is the primary cause of violent splattering — water hitting hot oil flash-vaporizes and ejects oil droplets with force. Wet food also drops oil temperature faster than dry food.
For breaded items: bread-then-rest procedure. After breading, let the breaded item rest on a wire rack for 10–15 minutes before frying. This allows the coating to adhere and dry slightly — the result is a more cohesive crust that doesn’t blow off in the oil.
Step 4 — Fry

Lower food into the oil slowly using a spider strainer, basket or tongs — never drop food into oil from height. Add items in small batches: adding too much cold food at once drops the temperature dramatically and results in greasy, undercooked food. As a rule, food should cover no more than 50% of the oil surface.
Immediately after adding food, increase to level 7–8 to compensate for the temperature drop. Monitor the thermometer and return to level 5–6 when oil recovers to the target temperature.
Maintain target temperature throughout the cook. Adjust power level as needed — induction’s responsiveness makes this easy.
Step 5 — Drain and rest
Use a spider strainer or slotted spoon to remove food from the oil. Hold over the oil briefly to drain, then transfer to a wire rack set over a sheet pan. Never drain fried food on paper towels — the food steams against the absorbent surface and the crust softens. Wire rack drainage keeps hot air circulating around the food and maintains crispness.
Season immediately after draining — salt adheres to hot, freshly fried food and won’t adhere once the food cools.
Temperature management: the induction advantage in detail
The key to great fried food is maintaining oil temperature between batches. Here’s the power level management protocol we use in the test kitchen:
| Phase | Induction level | Why |
|---|---|---|
| Cold oil → 300°F | 8–9 | Full power speeds up the initial heat |
| 300°F → target (350–375°F) | 5–6 | Gradual approach prevents overshoot |
| Holding at target, no food | 4–5 | Maintenance power |
| After adding food | 7–8 immediately | Compensates for the temperature drop |
| Recovery back to target | 5–6 | Steady hold once recovered |
| Between batches | 4–5 | Hold temperature without climbing |
The critical move is adjusting to level 7–8 the moment food goes in, then watching the thermometer and reducing power as the oil recovers. This is where induction’s response time pays off — the power adjustment takes effect in 2–3 seconds, versus a gas flame that takes 15–20 seconds to visibly respond.
Safety: what to do if oil catches fire
Hot oil above its flash point (typically 550–650°F for most frying oils) can ignite. If oil begins to smoke heavily, it’s approaching the flash point — reduce power immediately and do not add food.
If oil catches fire:
- Turn off the induction cooktop immediately.
- Place the pot lid (or a sheet pan) over the pot — this cuts off oxygen and smothers the fire. Do not move the pot.
- Do not use water — water on burning oil causes a violent explosive reaction.
- If you cannot safely cover the pot: evacuate and call 911. Leave the door open.
Induction cooktops are slightly safer for frying than gas because: (a) the glass surface around the pot stays below 200°F — dripped oil doesn’t ignite on the surface; (b) there is no open flame that could ignite oil vapour. But they are not immune to oil fires from overheating.
A kitchen fire extinguisher rated K-class (for cooking oil fires) is the correct fire suppression tool for a kitchen. Do not rely on standard dry-powder extinguishers for oil fires.
Bottom line
Induction cooktops fry better than most home gas burners for the reason that matters most: temperature recovery. Under 2 minutes back to target temperature after adding cold food means crispier, less greasy results than the 3–5 minute recovery on gas and electric alternatives.
The key technique points:
- Heavy Dutch oven (Le Creuset, Lodge enameled) for thermal mass.
- 3–4 inches of oil, never more than half the pot.
- Level 7–8 to heat; level 5–6 to hold.
- Boost to level 7–8 the moment food goes in; reduce when oil recovers.
- Wire rack drainage — never paper towels.
For the cooktop to fry on, the Bosch Benchmark NITP669SUC and GE Profile PHP9036DTBB are the units we run every test with.
Frequently asked questions
Can you deep fry on an induction cooktop?
Yes — induction is excellent for deep frying. It heats oil faster than gas (8–10 min vs 12–15 min for 2 quarts to 375°F) and recovers temperature in under 2 minutes after adding cold food, versus 3+ minutes on gas.
What is the best pot for deep frying on induction?
A 5–7 qt enameled cast iron Dutch oven (Le Creuset, Staub) — high thermal mass, induction-compatible, tall walls for splatter control. Lodge Enameled 5 qt at $55 is the best value option.
What temperature setting for deep frying on induction?
Level 7–8 to heat oil; reduce to level 5–6 to hold at 350–375°F. Boost to level 7–8 the moment food is added to compensate for temperature drop, then reduce to 5–6 as oil recovers.
Is deep frying on induction safer than gas?
Yes — the glass surface stays cool outside the pot footprint (dripped oil doesn’t ignite), and there’s no open flame to ignite oil vapour. But hot oil above the flash point can still catch fire — have a lid or K-class fire extinguisher within reach.
How much oil to use for deep frying on induction?
3–4 inches depth in the pot — approximately 2 quarts (1.9L) in a standard 5-qt Dutch oven. Never fill more than half the pot volume with oil.
Technique developed in the Cooktop Hunter test kitchen, May 2026. Temperature recovery data collected with ThermoWorks Type-T thermocouple. Fire safety information per NFPA 10 and AGA kitchen safety guidelines.